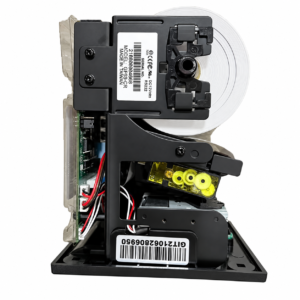
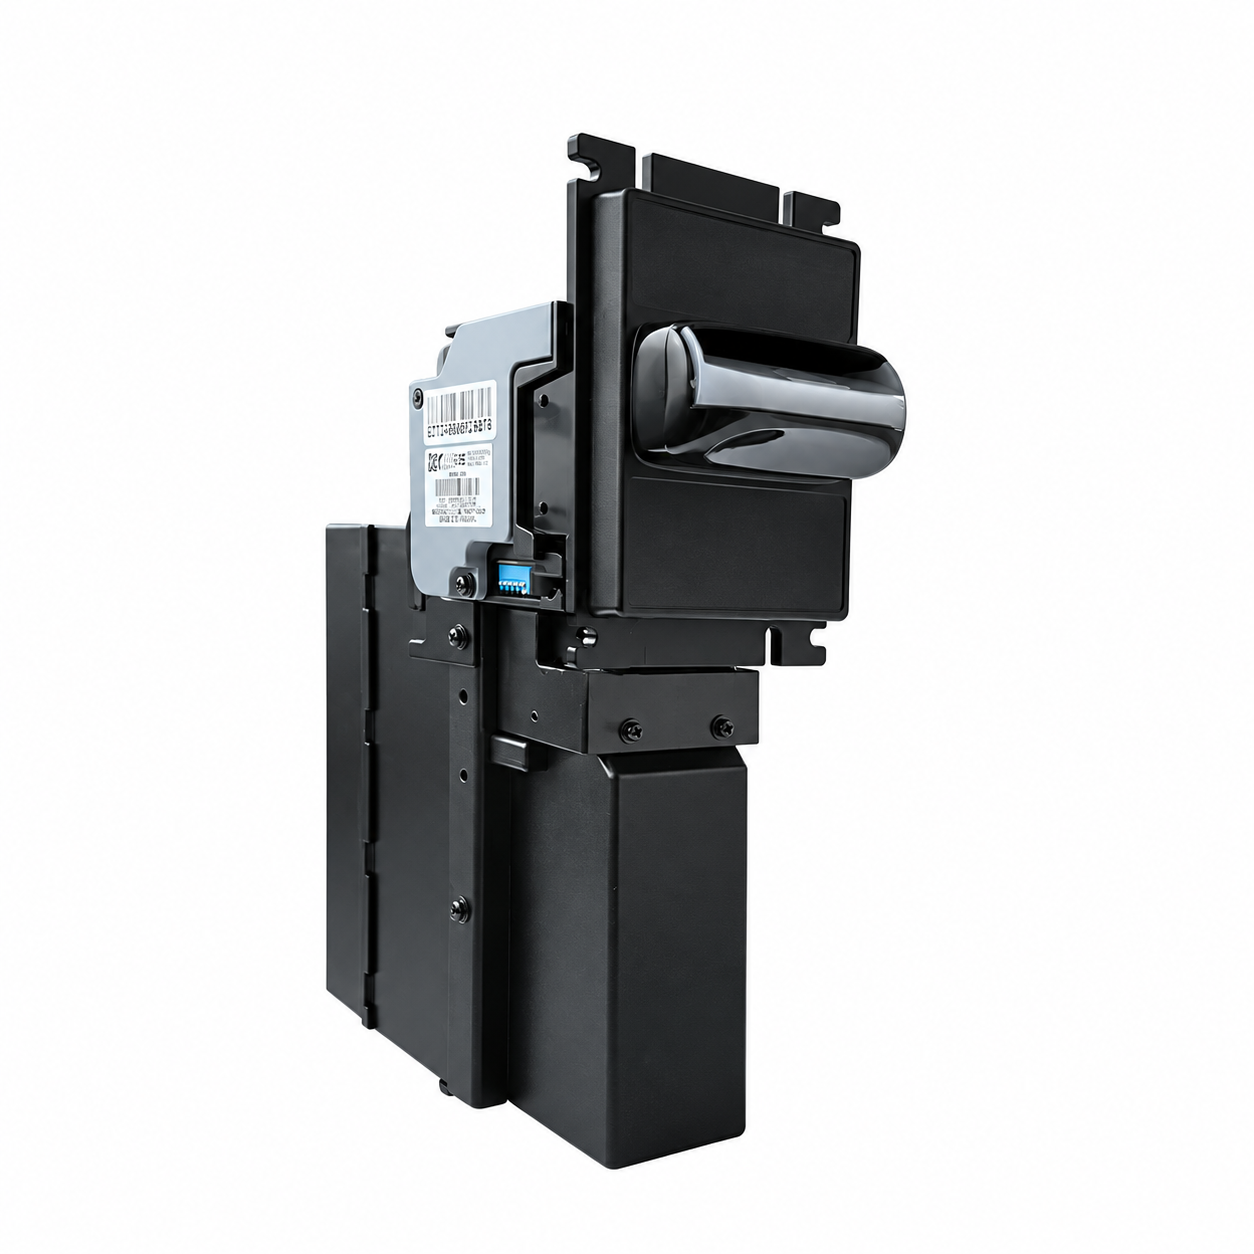
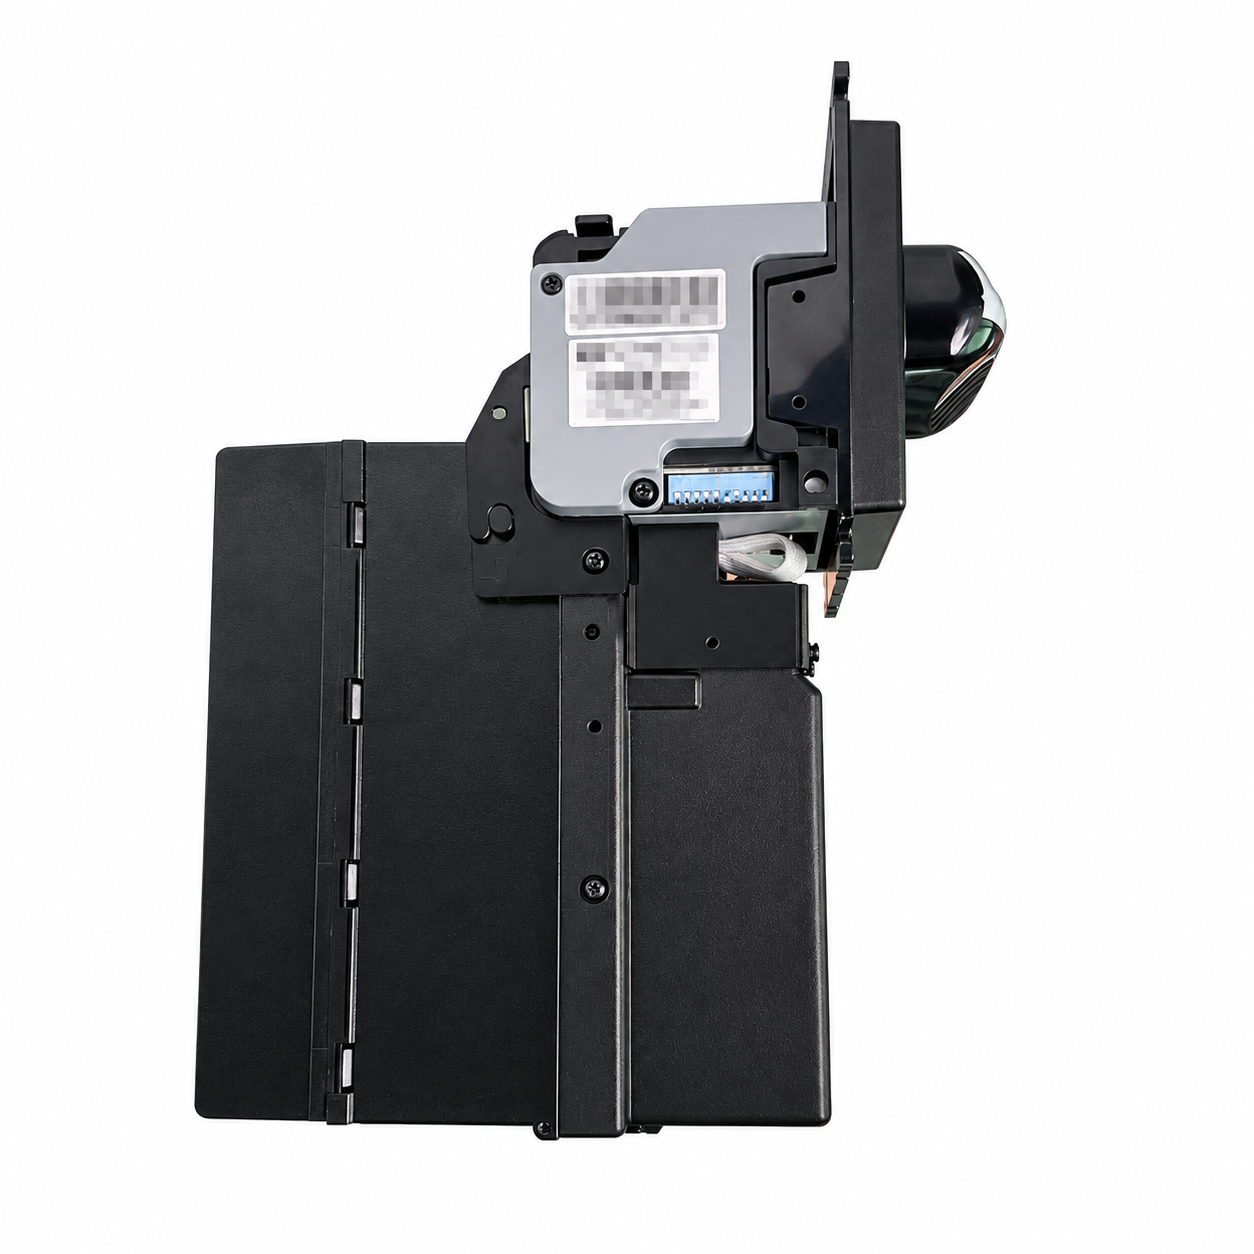
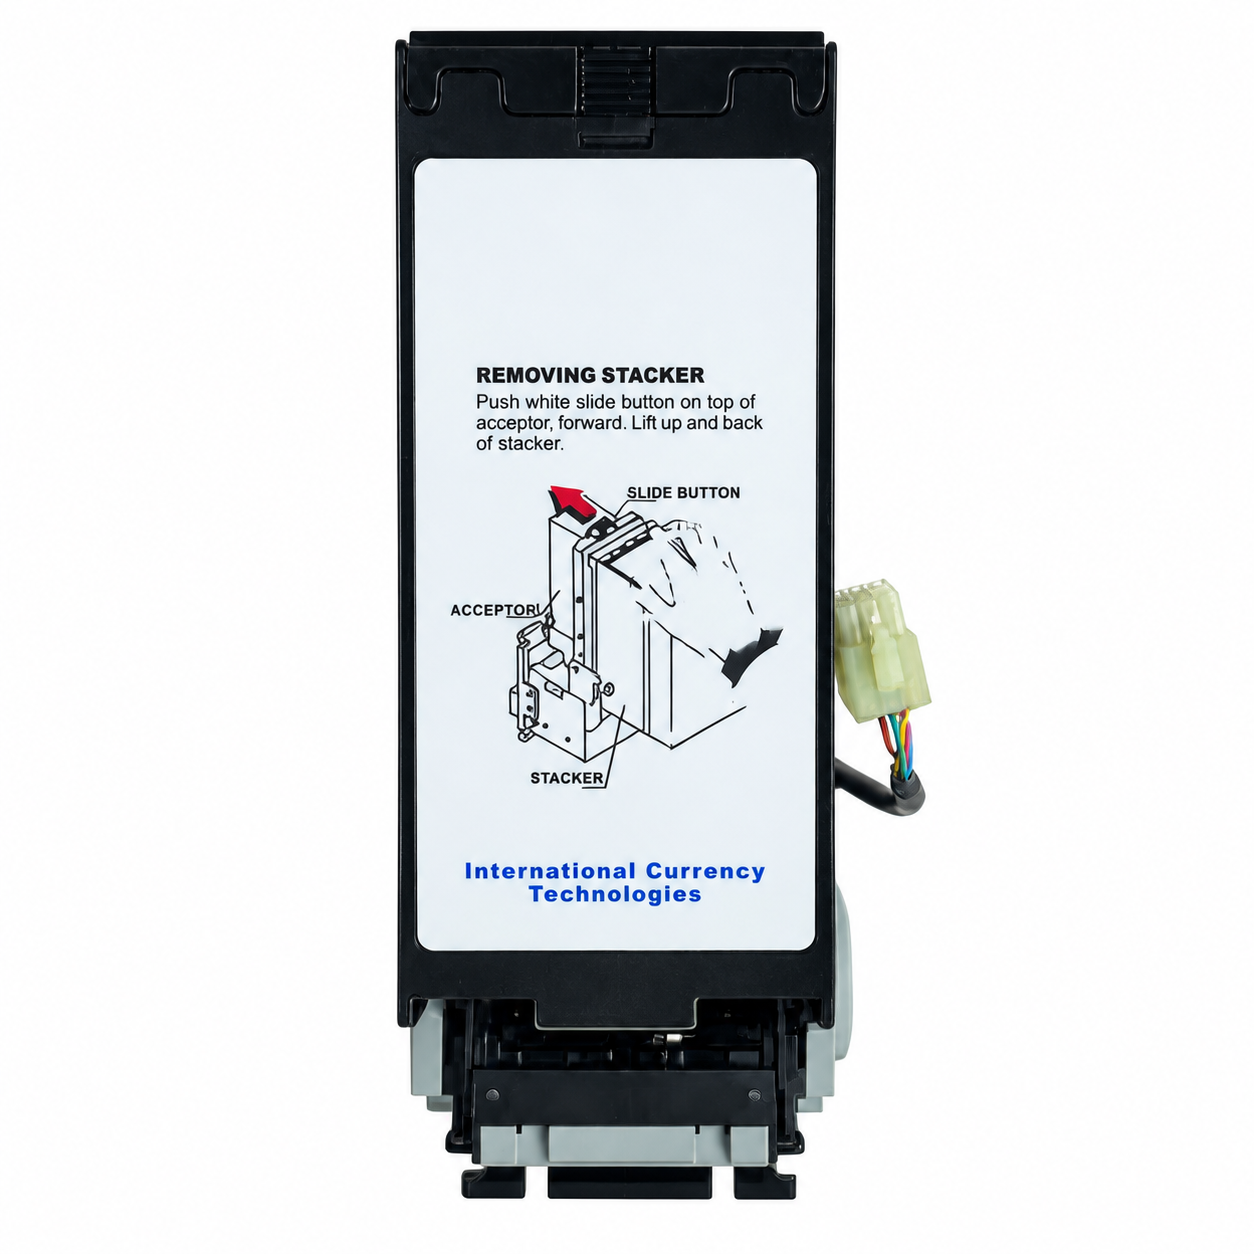
ICT L70P5 bill acceptor with stacker for slot machine cabinets, arcade machines and cash-operated gaming equipment. Supports 12V DC operation and configuration for the required currency and interface.
The ICT L70P5 bill acceptor is designed for arcade, skill-game and gaming cabinet integration. Its stacker securely collects accepted banknotes, while selectable communication options support connection to compatible game boards and controllers.
| Product Type | Bill Acceptor with Stacker |
| Brand | ICT |
| Model | L70P5 |
| Application | Gaming Cabinets, Arcade Machines, Self-Service Equipment |
| Power Supply | 12V DC |
| Bill Insertion | Four-way acceptance |
| Accepted Bill Width | 62–70 mm |
| Stacker Capacity | Up to 500 notes, depending on configuration |
| Interface Options | Pulse, RS232, MDB or compatible protocol (confirm before order) |
| Currency Setup | Configured to the required currency before shipment |
| Installation | Indoor cabinet installation |
Please confirm the required currency, bill denominations, interface protocol and cabinet cutout before ordering. We can help verify compatibility with your slot machine cabinet or gaming control board.
Share the machine or cabinet model, the part model, and clear photos of the part, connectors, mounting points, and existing wiring. Compatibility depends on specifications and configuration; matching connectors or dimensions alone may not confirm fit.
Package contents vary by product and configuration. Review the quotation or confirm the included cables, brackets, stacker, harnesses, and other accessories before ordering; items are included only when listed.
Currency and denomination support depend on the bill acceptor model and available configuration. Tell us the target currency and bill denominations so we can confirm support and setup before shipment.
Confirm the printer model, paper width, power requirements, communication interface, mounting space, and control-board support. Share your machine model and existing printer details so we can check the complete setup.
Alternative cables, connectors, or mounting accessories may depend on the part model and stock. Send photos and measurements of the existing installation, and confirm any substitute in writing before ordering.
Follow the wiring diagram and instructions supplied for the exact model. Turn off and disconnect power before installation, verify polarity and pinout, and have compatibility checked before reconnecting power.
Disconnect power before checking the wiring. Note the product model, machine model, interface, and symptoms, and share clear photos of the connections and any error message so the setup can be reviewed safely.
Compatibility cannot be confirmed by screen size alone. Please provide the internal installation-space dimensions, mounting-hole spacing, existing monitor model, connector photos and power-supply information. We will compare these details and confirm whether the display can be installed directly or whether cabinet modification is required.
It can be used as a replacement when the mounting structure, available installation space, video signal, touch connection and power supply are compatible. Please send clear photos of the existing monitor front, rear label, connectors and mounting position before ordering.
Please provide the required quantity, cabinet model, installation-space dimensions, mounting-hole spacing, connector photos, power-supply information and destination country or postal code. Complete information helps prevent compatibility and installation problems.
Yes. We recommend ordering one sample to test the mounting fit, video signal, touch response and power connection in the actual slot machine cabinet before confirming a bulk order.
Yes. Send us a cabinet drawing or clear measurements of the installation opening, internal space, mounting holes and available depth. We will compare them with the display structure and advise whether the standard model is suitable.
Yes. The housing, mounting holes, glass, interfaces, cable length, logo, label and packaging can be evaluated for customization. Please provide your drawing, requirements and expected order quantity so we can confirm feasibility, cost and production time.
Normally, it will work after the power, video and touch connections are correctly installed. Video and touch signals use separate cables, so both connections must be completed. Confirm all wiring and the selected video input before powering on.
The video cable only carries the image signal. Check whether the USB or RS232 touch cable is connected separately and securely. Try another touch port if necessary. If the issue continues, send us clear photos of all connections and the controller information.
Check the HDMI or DisplayPort cable, confirm that the correct input source is selected and make sure the connected device is outputting a video signal. If possible, test with another video cable or signal source while keeping the touch connection unchanged.
Yes. We can provide remote support using connection photos, wiring information, written instructions and short videos. For faster assistance, send the product label, cabinet model, complete connection photos and a video clearly showing the issue.
 Scan with WhatsApp